Powder Coating Your Bicycle: Step-by-Step Guide 2024
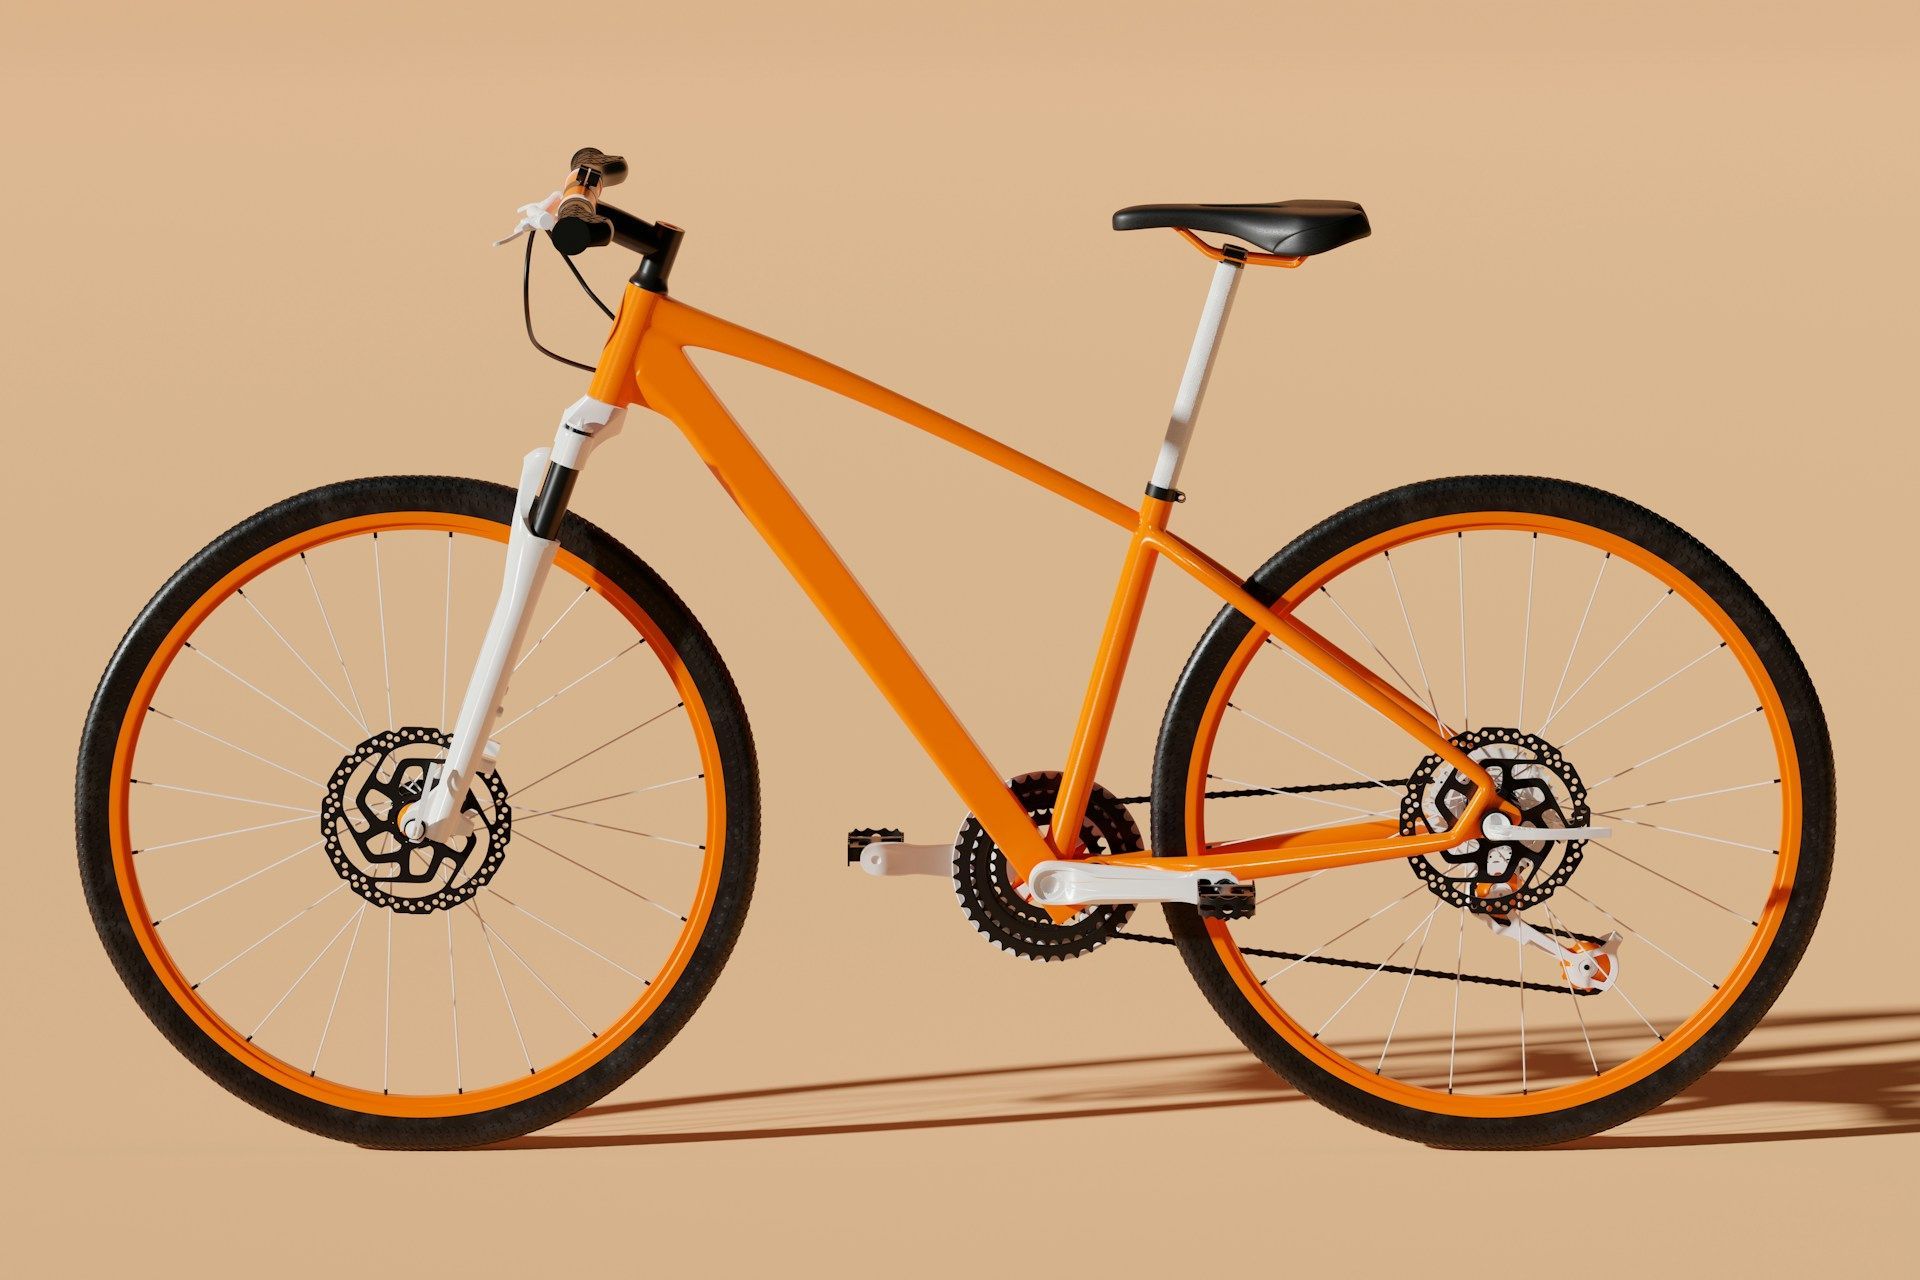
Powder coating your bicycle can give it a fresh, durable finish, making it look brand new again. This process involves several steps, starting with the disassembly of your bike and ending with a beautifully powder-coated frame. It's an excellent way to revive an older bike or customize a new one to match your personal style.
The preparation phase is crucial to ensure the powder coating adheres properly and lasts for years. This includes thoroughly cleaning the parts, stripping away old paint, and making sure the surface is smooth and free from impurities. These steps might seem daunting, but with the right guidance and tools, you can accomplish them successfully.
From disassembling your bicycle to inspecting and prepping each part, this guide will walk you through the entire process. Whether you're a DIY enthusiast or a bike lover looking to enhance your ride, following these steps will help you achieve a professional finish. Get ready to transform your bike and give it a new lease on life with powder coating.
Disassembling Your Bicycle for Powder Coating
Step-by-Step Guide to Disassembling the Bike
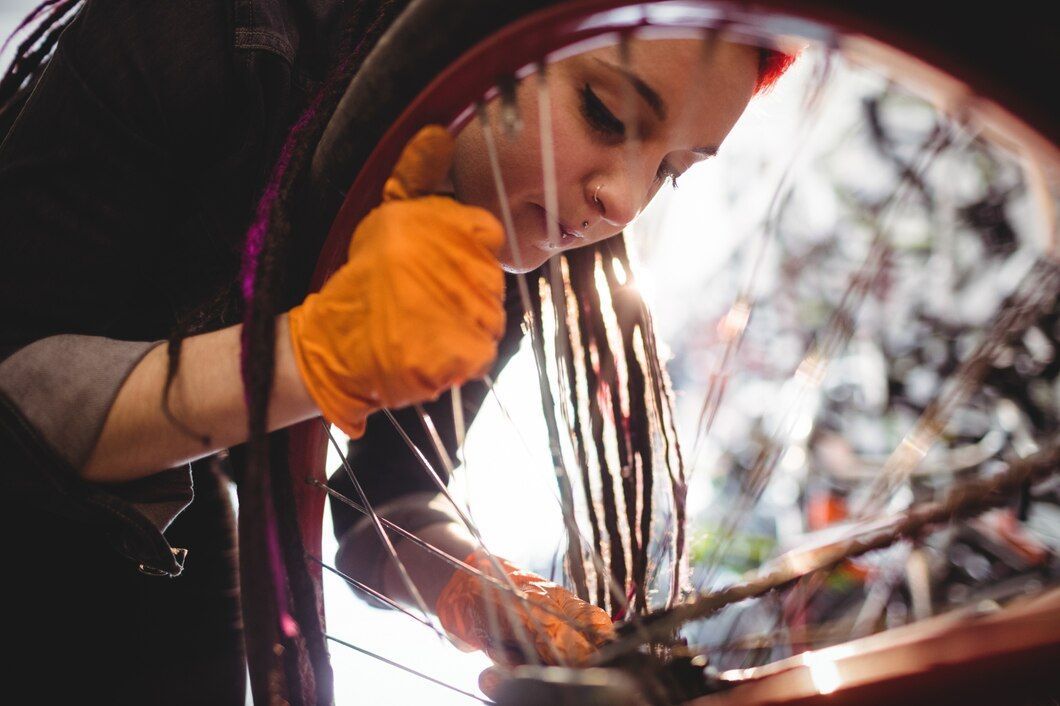
To begin powder coating your bicycle, the first step is to disassemble it completely. Start by removing the wheels using a wrench to loosen the axle nuts or quick-release levers. Next, take off the seat and seat post, followed by the handlebars and stem. Each of these parts can usually be removed with an Allen wrench or a similar tool.
Proceed to detach the chain using a chain breaker tool. Then, remove the crankset and pedals. The crankset may require a crank puller, while the pedals can usually be unscrewed with a pedal wrench. Finally, remove the brake components and derailleurs. Carefully unscrew the brakes, and gently detach the cables from the frame. All these components need to be set aside safely.
Important Tools and Tips for a Successful Disassembly
When disassembling your bike, it's important to have the right tools on hand. Essential tools include a set of Allen wrenches, a pedal wrench, a chain breaker tool, a crank puller, and a standard wrench set. Having a clean and organized workspace is beneficial, and laying out a large towel or mat to keep small parts from rolling away can be helpful.
Labeling the parts as you remove them can save time during reassembly. Use small containers or bags to keep bolts, nuts, and washers together with their respective parts. Taking photos of each step can also be a helpful reference. This organized approach ensures a smoother process when it comes time to put your bike back together after powder coating.
Cleaning and Stripping Old Paint
Methods for Cleaning and Degreasing Bicycle Parts
Once the bike is disassembled, the next step is cleaning each part. Start by washing the components with soap and water to remove dirt and grime. For the chain and gears, use a degreaser to get rid of built-up grease and oil. Soak these parts in the degreaser for about 15 minutes, then scrub with a brush and rinse thoroughly.
For stubborn grease, commercial degreasing products can be used. Apply the degreaser and let it sit for a few minutes before scrubbing and rinsing. Make sure all parts are fully dry before proceeding to the next step. This ensures that no moisture remains, which could interfere with the powder coating process.
Techniques for Removing Old Paint and Previous Coatings
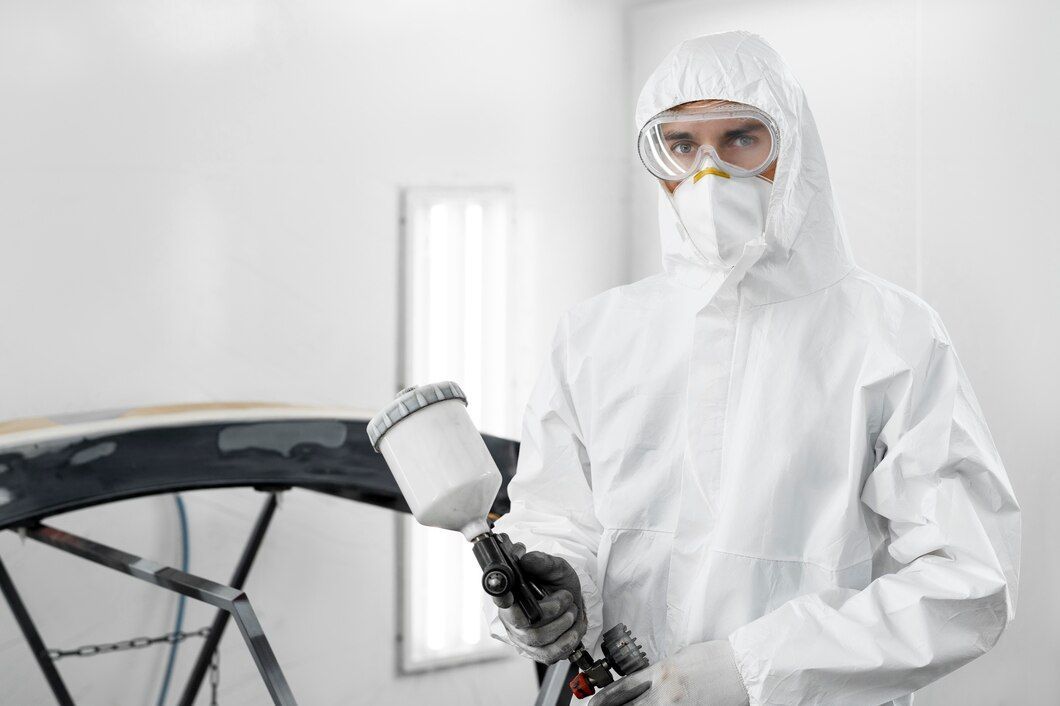
After cleaning, it's time to strip the old paint and previous coatings. Chemical paint strippers can be very effective. Apply the stripper to the surface and let it sit for the recommended time (usually specified on the product). The paint will start to bubble and can then be scraped off with a plastic scraper. Be sure to wear gloves and goggles for protection during this process.
Alternatively, manual methods like sanding can be used. Start with coarse sandpaper to remove the bulk of the paint, then switch to finer grits to smooth the surface. Sanding may require more effort but is sometimes preferred for more intricate parts. Regardless of the method chosen, ensure that all paint and coatings are completely removed for the best powder coating results.
Sandblasting and Surface Preparation
Benefits of Sandblasting for a Smooth Surface
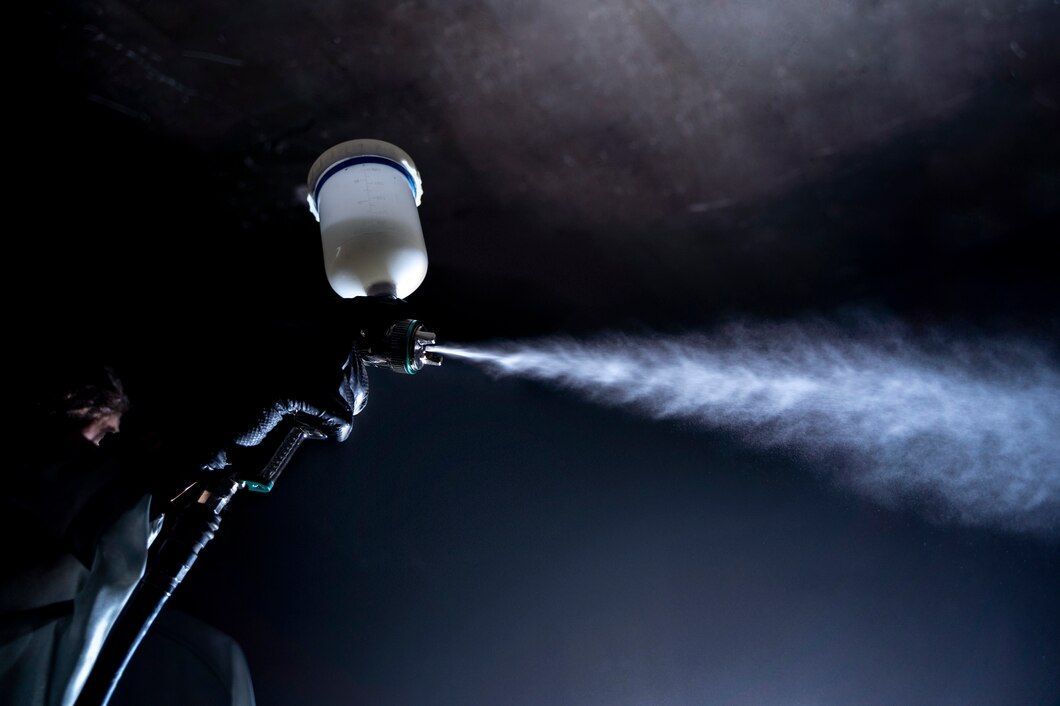
Sandblasting is a highly effective method for preparing your bicycle parts for powder coating. One of the main benefits is that it creates a smooth, clean surface by removing any residual paint, rust, or imperfections. This process ensures that the new powder coating will adhere more effectively, resulting in a durable and long-lasting finish.
Another advantage of sandblasting is its ability to reach intricate areas and corners that can be difficult to clean manually. By using fine particles propelled at high speed, sandblasting can access tight spots and leave a uniform surface texture. This thorough preparation leads to a superior coating quality and aesthetic appeal for your bike parts.
Detailed Process of How to Sandblast Bicycle Parts Effectively
To sandblast bicycle parts effectively, you will need to use a sandblasting cabinet and the appropriate abrasive media, such as aluminum oxide or glass beads. First, place the bicycle part inside the cabinet and make sure it is securely positioned. Wear protective gear, including gloves, goggles, and a dust mask, to safeguard yourself from the abrasive particles.
Next, operate the sandblasting gun by aiming it at the part at an angle to avoid direct impact, which can damage the metal. Move the gun in a smooth, sweeping motion to evenly blast the entire surface. Continue this process until all paint and debris are removed and the surface feels smooth to the touch. Once complete, carefully inspect the part to ensure no areas were missed, and repeat the sandblasting if necessary.
Inspecting and Prepping for Coating
Inspection Checklist for Any Damage or Impurities
Before proceeding to the powder coating stage, it’s crucial to inspect each bicycle part for any damage or impurities. Look for dents, cracks, or areas where paint might still be present. Pay special attention to weld joints and hard-to-reach corners. Ensure that all parts are free from rust and debris, as these can negatively impact the coating process.
Create a checklist to mark off each component you inspect. This checklist can include checking for structural integrity, ensuring all old paint is stripped, and verifying that surfaces are smooth and clean. Taking the time to thoroughly inspect each part will lead to a higher quality and more durable finish.
Final Preparation Steps Before Handing Over the Parts for Powder Coating
Once your parts pass the inspection, it’s time to proceed with the final preparation steps. Start by wiping down the surfaces with a clean, lint-free cloth to remove any dust or residues left from sandblasting. Use a tack cloth to pick up any remaining particles, ensuring that the parts are as clean as possible.
If any minor repairs or touch-ups are needed, now is the time to address them. Afterward, label each part or create a list of parts to ensure nothing gets misplaced during the coating process. Finally, securely package the parts to protect them from damage during transport. Your parts are now ready to be handed over for professional powder coating.
Conclusion
Preparing your bicycle for powder coating may seem like a complex task, but following these detailed steps ensures a high-quality finish that will last. Proper disassembly, cleaning, stripping old paint, sandblasting, and thorough inspection are critical phases to achieve the best results. These preparations not only improve the durability of the coating but also enhance the overall appearance of your bicycle.
If you're ready to give your bike a fresh new look, consider professional
powder coating services. At Executive Coast 2 Coast Powder Coating, we specialize in transforming bicycle parts with expert precision and care. Get in touch with us today to learn how we can help you achieve a stunning, long-lasting finish for your ride.