Revamp Your Ride: Cerakoting Tips for Motorcycle Lovers
Cerakoting is a popular choice for motorcycle enthusiasts who want to protect and beautify their bikes. This ceramic coating provides a tough, durable finish that resists scratches, chemicals, and extreme temperatures. It's a great way to give your motorcycle a custom look while ensuring it stays in top condition.
Understanding the benefits and process of Cerakoting can make the experience smoother and more satisfying. If you're new to this or looking for some handy tips, you're in the right place. This guide will walk you through everything you need to know about Cerakoting your motorcycle.
We'll cover why Cerakote is a top choice for many riders, how to properly prep your bike for the coating, the steps to apply it, and how to keep it looking great afterwards. Whether you ride a classic cruiser or a high-speed sport bike, Cerakote can enhance its appearance and durability. Let's dive in and explore these Cerakoting tips to make your motorcycle stand out and last longer.
Understanding Cerakote: What It Is and Why It’s Popular
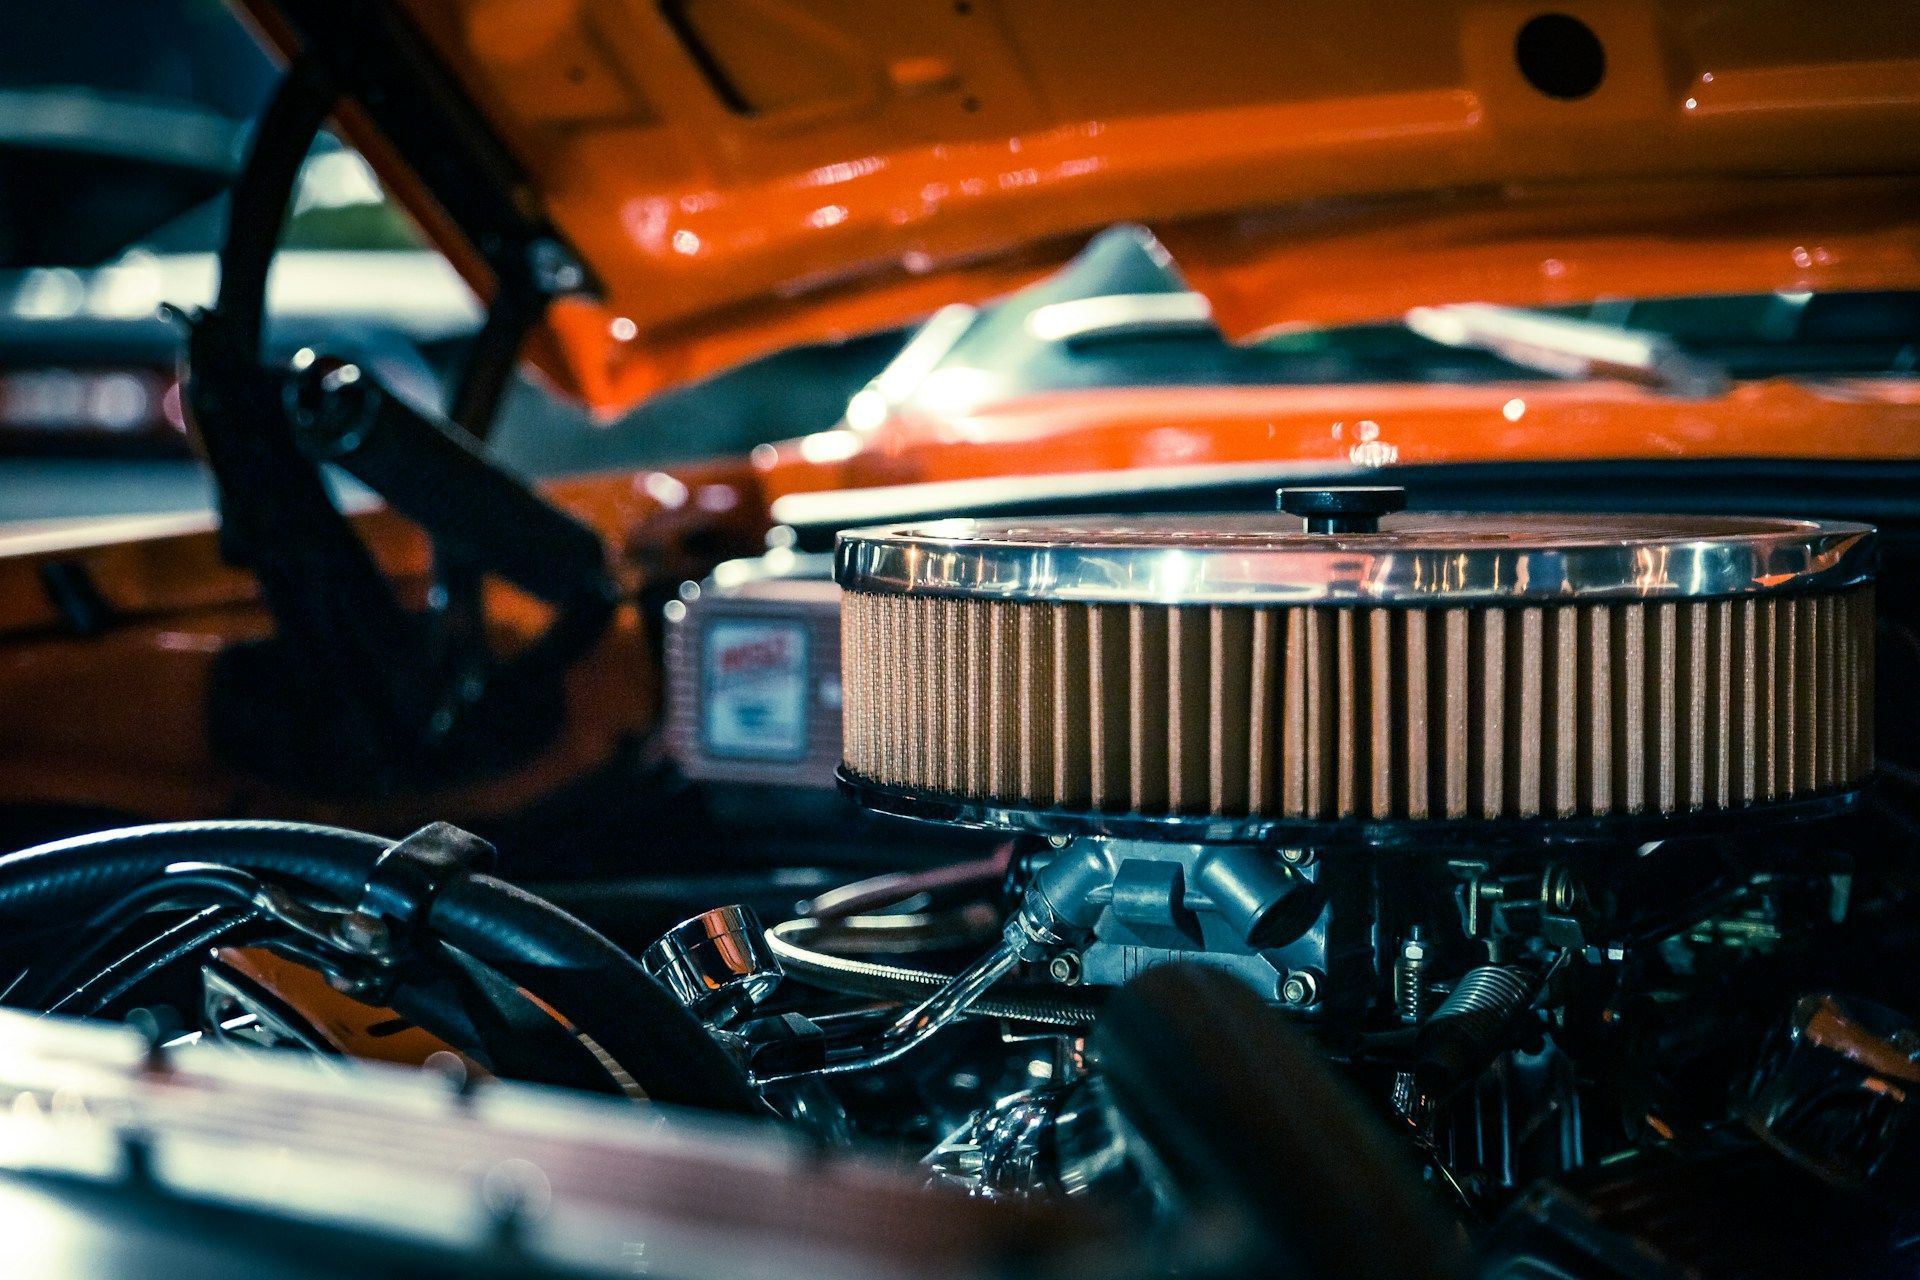
Cerakote is a special type of ceramic coating used to protect and style your motorcycle. It bonds to the surface and forms a hard, durable layer that can withstand tough conditions. Unlike regular paint, Cerakote resists scratches, chemicals, and extreme heat. This makes it ideal for parts that face a lot of wear and tear, like the exhaust, engine, and frame.
Why is Cerakote so popular among motorcycle fans? First, it adds a sleek, custom look to your bike. Available in many colors and finishes, it allows for personalized designs that stand out. Second, it offers superior protection. Cerakote shields your bike from rust, corrosion, and road debris. This keeps your motorcycle looking good and functioning well over time.
Cerakote's versatility also plays a big role. It can be applied to various materials, including metal, plastic, and even wood. Whether you're customizing the frame or adding unique details, Cerakote offers endless possibilities. With its combination of aesthetic appeal and practical benefits, it’s no wonder that Cerakote is a favorite among riders.
Preparing Your Motorcycle for Cerakoting
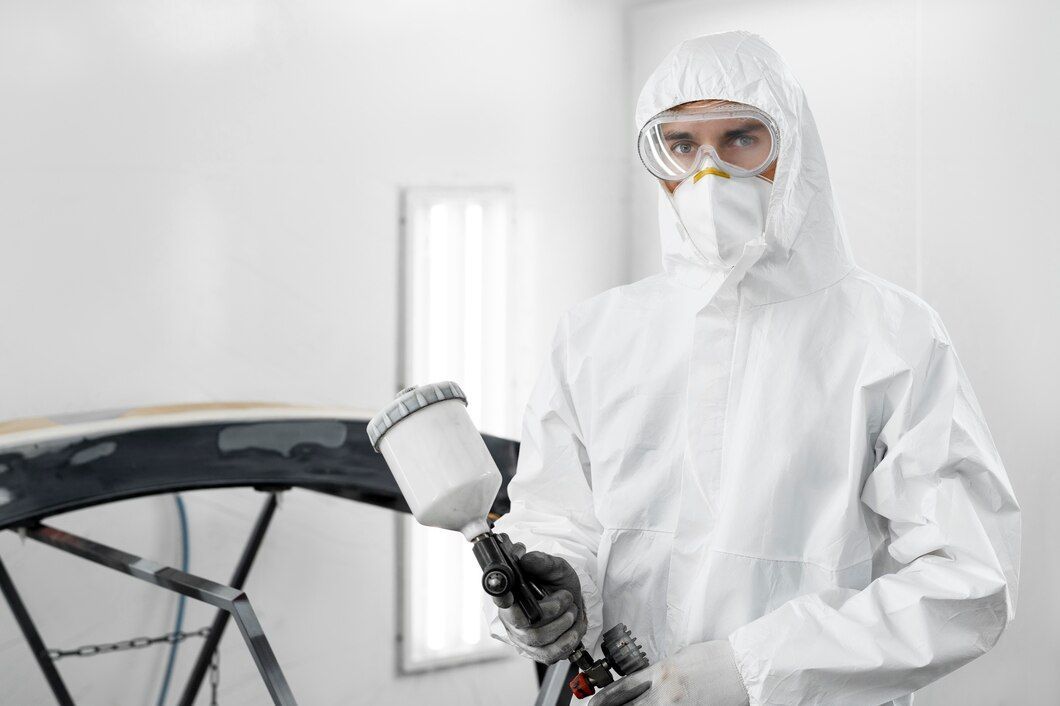
Proper preparation is key to achieving a flawless Cerakote finish. Start by disassembling the motorcycle. Remove all parts that will be coated. This makes it easier to apply the coating evenly and ensures no areas are missed.
Next, clean the parts thoroughly. Use a degreaser to remove any oil, dirt, or grime. This is crucial because even a small amount of residue can affect the adhesion of the Cerakote. Rinse the parts well and let them dry completely.
Once the parts are clean, the next step is sandblasting. Sandblasting removes the old paint and any surface rust, leaving a clean, rough surface for the Cerakote to bond to. If you don’t have access to sandblasting equipment, use sandpaper to manually roughen the surface. Be thorough in this step, as it greatly impacts the final result.
After sandblasting, wipe down the parts with a lint-free cloth to remove any dust or particles. Ensure the workspace is clean and free from contaminants. This preparation process might seem tedious, but it’s essential for a smooth, long-lasting Cerakote application. Without proper prep, the coating may peel or chip, reducing its effectiveness and appearance.
Step-by-Step Guide to Applying Cerakote
Applying Cerakote involves several key steps to ensure a perfect finish. Follow this guide for the best results:
1. Mixing the Cerakote: Start by shaking the Cerakote container well. Pour the desired amount into a mixing cup, then add the hardener according to the instructions. Mix thoroughly using a stir stick.
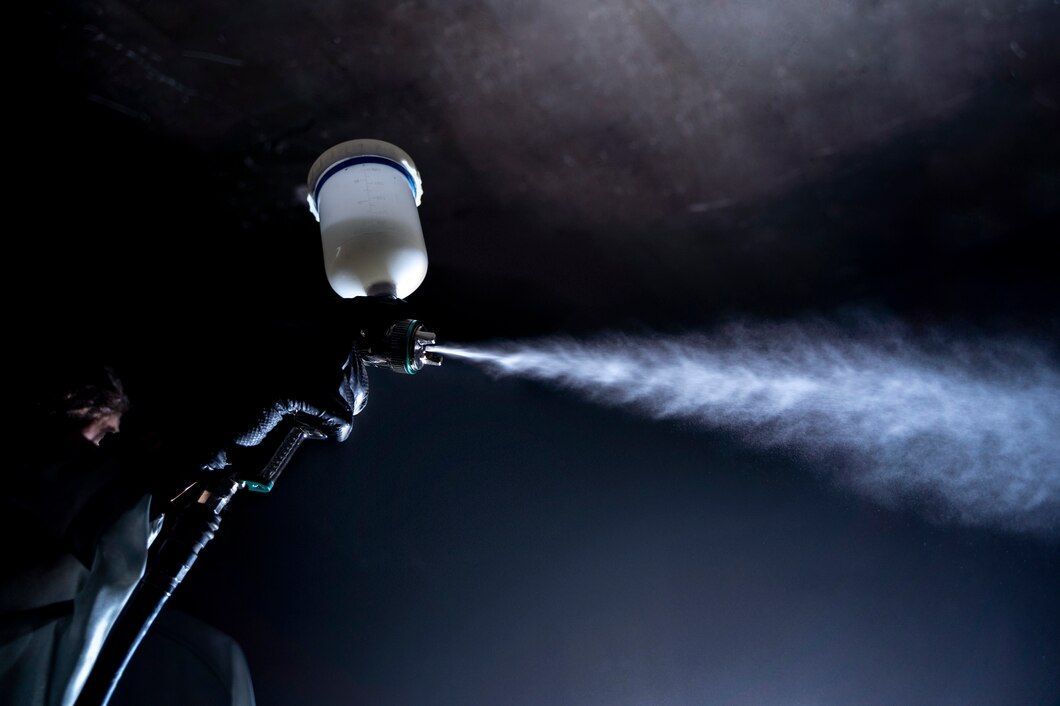
2. Spraying the Coating:
Pour the mixed Cerakote into a spray gun. Hold the spray gun about 6-8 inches from the surface you’re coating. Apply a light, even coat, moving in steady strokes. It's better to do multiple thin coats rather than one thick coat to avoid drips and ensure even coverage.
3. Curing the Coating:
Once the coating is applied, let the parts air dry for 15-30 minutes. Then, place them in an oven at the temperature specified by the Cerakote instructions. Bake them for the recommended time to cure the coating. This step is crucial for durability.
4. Inspecting the Finished Surface:
After curing, inspect the coated parts for any imperfections. Touch up any missed spots if needed. The result should be a smooth, even finish that's both durable and stylish.
Following these steps carefully ensures that your motorcycle parts are properly coated, providing long-lasting protection and a great look.
Maintaining Your Cerakoted Motorcycle
Keeping your Cerakoted motorcycle in top shape requires minimal effort but is important for longevity. Here are some tips to maintain that just-coated look:
- Regular Cleaning: Wash your motorcycle regularly using mild soap and water. Avoid harsh chemicals or abrasive materials that could damage the coating.
- Avoid High-Pressure Washers: High-pressure washing can chip away at the Cerakote. Stick to a gentle rinse and hand wash for the best results.
- Inspect for Damage: Periodically check for any chips or scratches in the coating. Addressing minor issues early can prevent larger problems later.
- Protect from Extreme Conditions: While Cerakote is durable, it's still wise to avoid unnecessary exposure to extreme conditions. Store your motorcycle in a garage or use a cover when not in use.
By following these simple maintenance steps, you can keep your Cerakoted motorcycle looking fresh and new for years. The coating doesn’t just enhance the appearance but also adds a layer of protection that helps reduce wear and tear.
Upgrade Your Motorcycle with These Essential Cerakoting Tips
Cerakoting your motorcycle is a great way to enhance both its look and durability. From understanding what Cerakote is and preparing your bike for the process, to applying the coating and maintaining it, each step is crucial for achieving the best results. This guide provides all the tips you need to ensure a successful Cerakoting experience.
If you’re ready to take your motorcycle to the next level with a custom Cerakote finish, contact Executive Coast 2 Coast Powder Coating. Our experts can help you achieve the perfect look for your ride. Don't wait—give your motorcycle the upgrade it deserves today at our
powder coating shop in Old Bridge, NJ!